Rice Krispie Treats

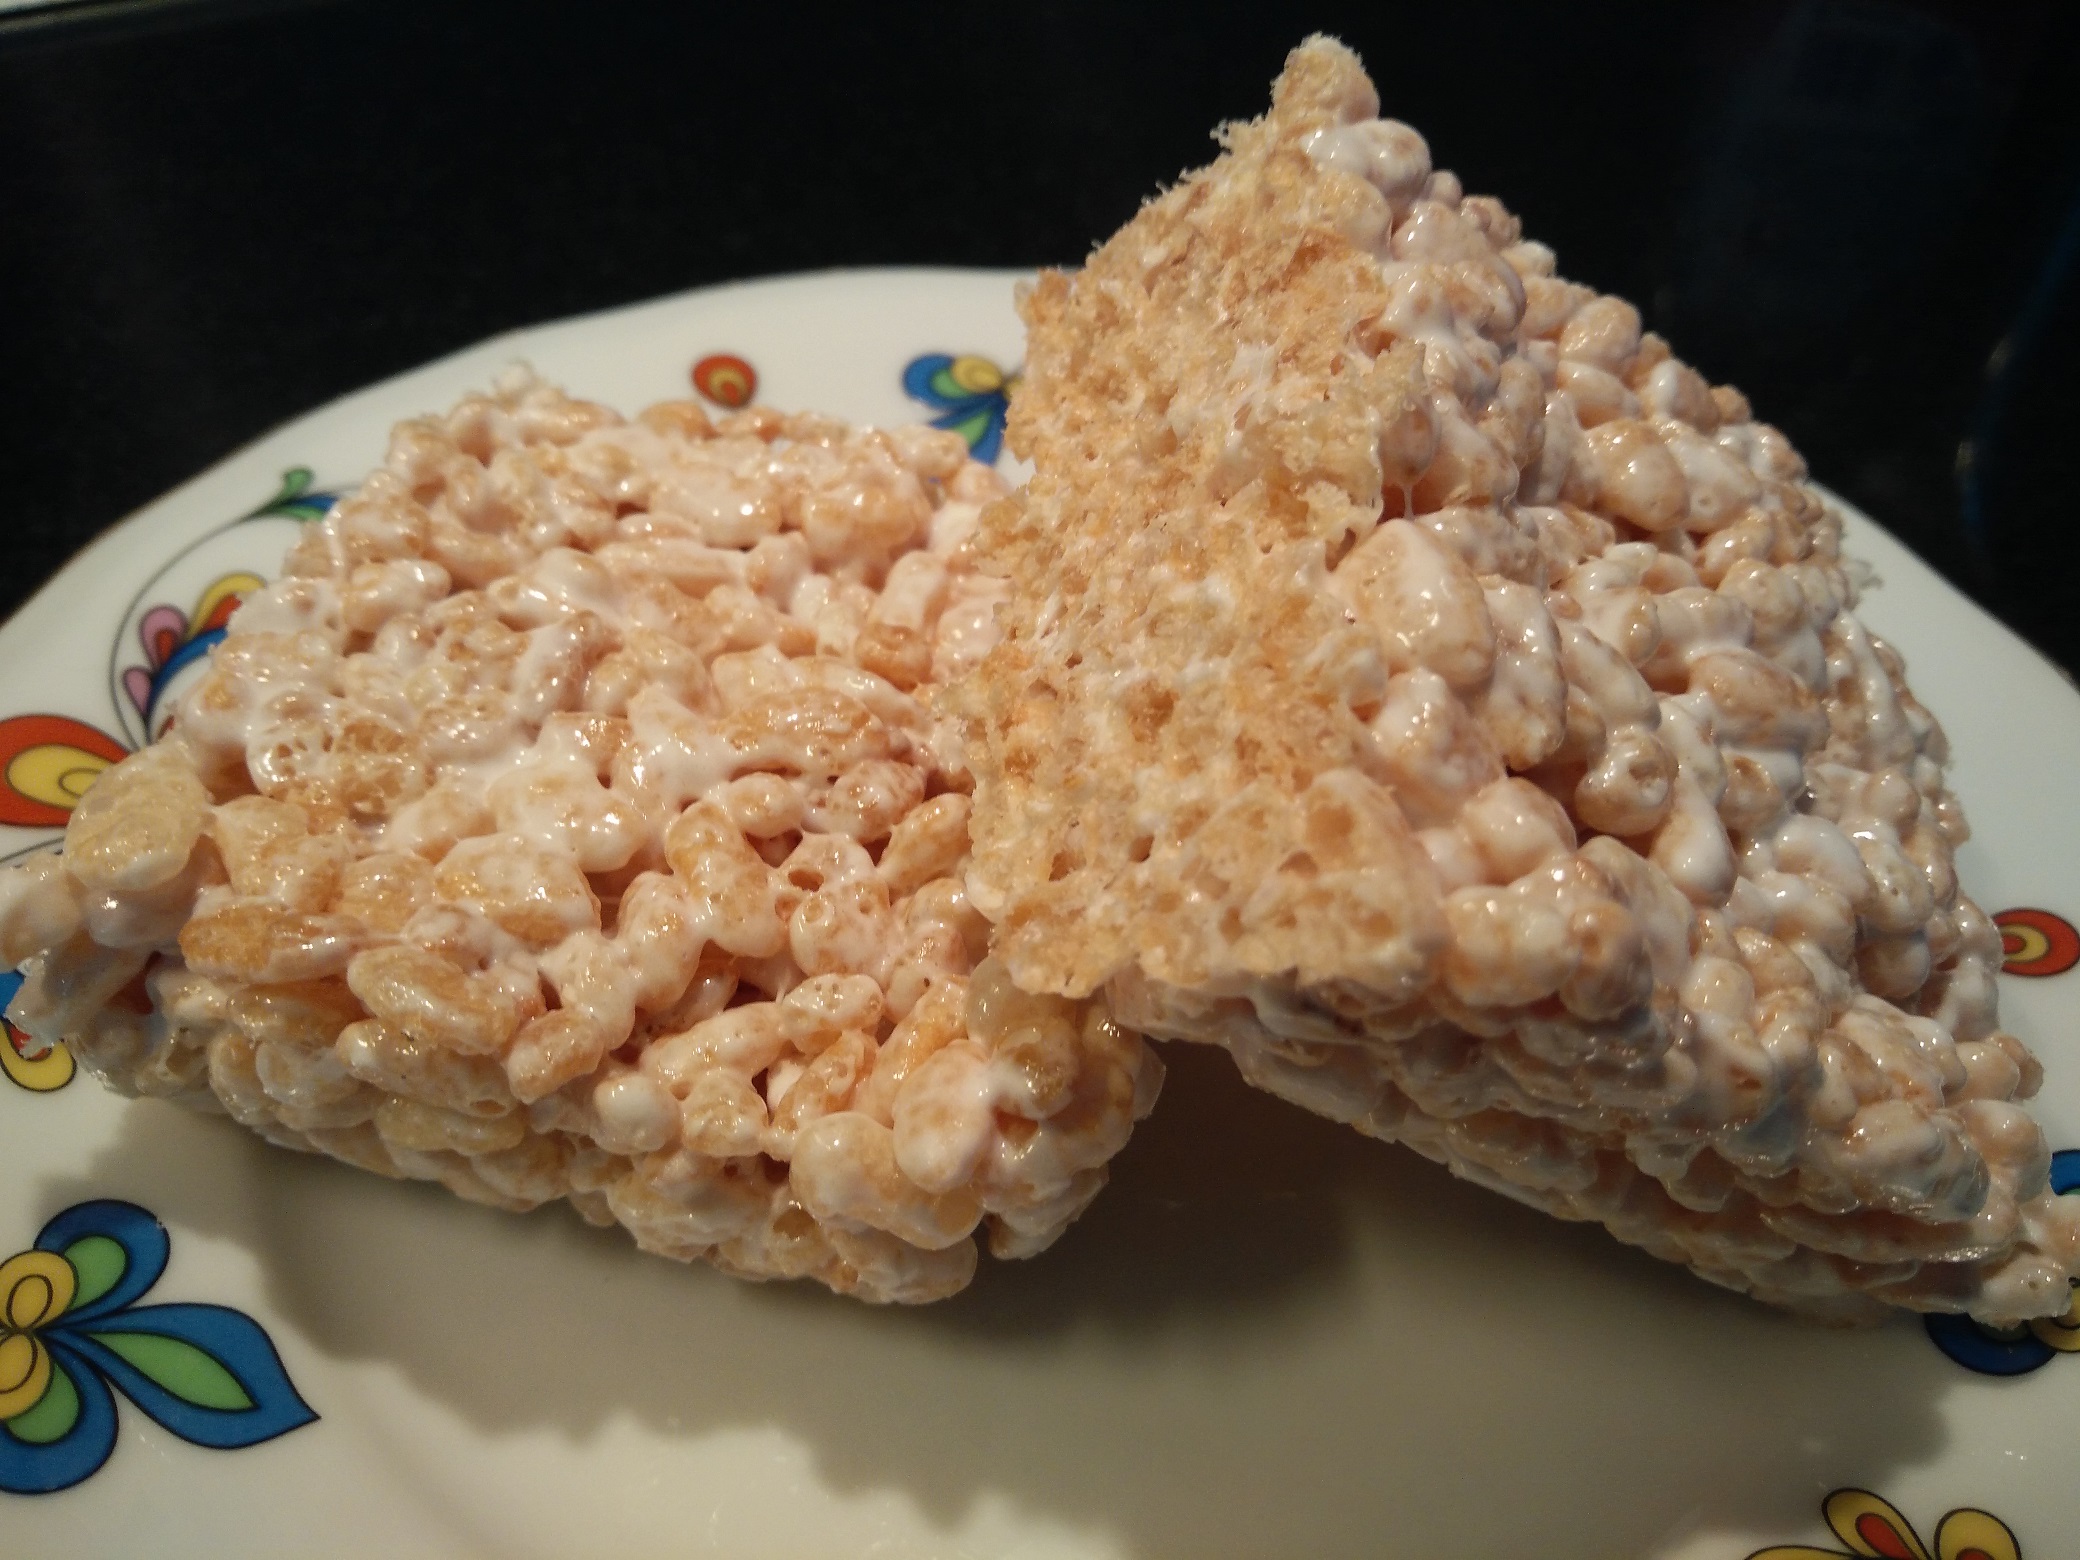
Rice Krispie treats are a classic American dessert. Growing up in the U.S. this is something I often ate as a snack. My mom made them for me, and at school these would be made and sold at bake sales. No matter how many times I ate them, I never got tired of them. They are so yummy, and they are so easy to make. Perhaps the whole world knows about this recipe by now, but in case you don’t here it is. It is the recipe directly from the Kelloggs website.

One thing I must emphasize is to use quality ingredients. Generic brands of rice krispies can make the treats soggy, and margarine, can make the rice krispie treats seem too oily, and marshmallow fluff just makes them taste strange imo. Hope you enjoy these treats! :o) Recipe is below, and video on how to make them is here .

Rice Krispie Treats

Rice Krispie Treats

Ingredients

  • 6 cups Kelloggs Rice Krispie Cereal
  • 3 tbsp (42 grams) butter
  • 1 package (10 oz.) marshmallows

Instructions

  1. First, melt butter in a medium/large pot over a low heat.
  2. Next, add marshmallows to the melted butter, and stir until melted.
  3. Then, remove the pot from the heat, and stir in the rice krispies, one cup at a time.
  4. Grease, a 13 x 9 x 2 inch baking dish, and scoop out the rice krispie mixture into the baking dish.
  5. Gently press down the rice krispie mixture with a piece of parchment paper, until it fills out the pan, and feels firm.
  6. Cover with plastic wrap, and let the rice krispie treats cool.
  7. Once cooled, cut into squares, and serve.
Schema/Recipe SEO Data Markup by Yummly Rich Recipes
http://www.dreamingoffood.dk/index.php/2017/02/18/rice-krispie-treats/

Strawberry White Chocolate Muffins

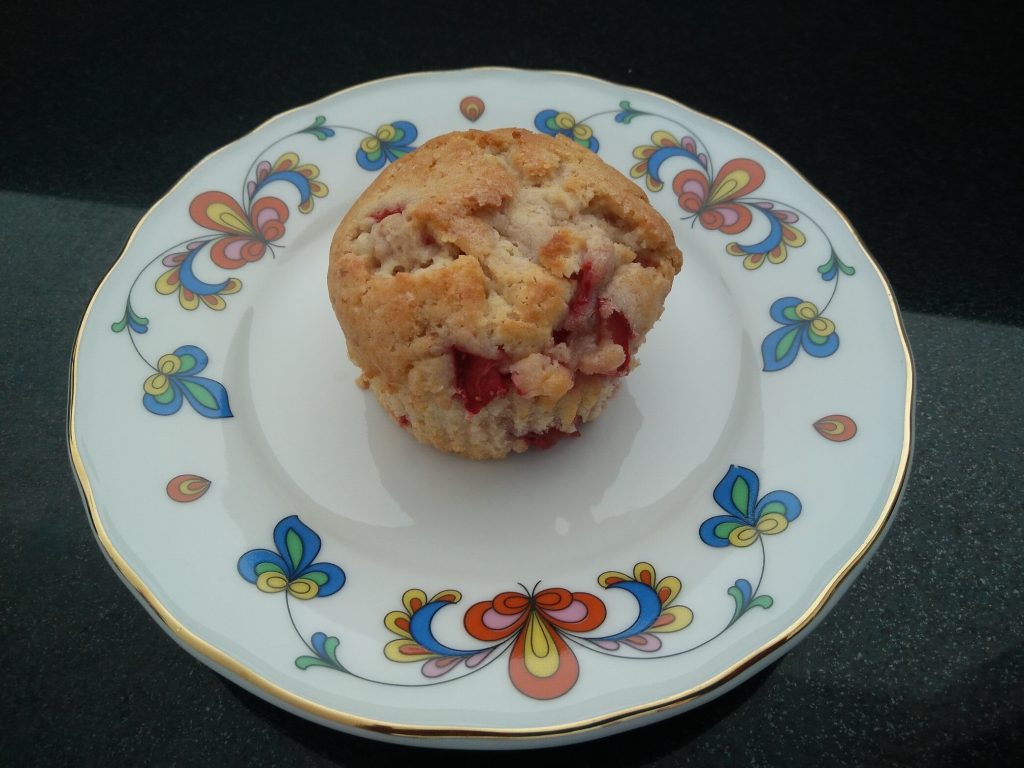
Every time I buy strawberries in Denmark, I always feel like there is this time pressure of eating them all since they go bad so quickly. So last month I decided to make strawberry muffins using leftover strawberries. I found a really good recipe online here but changed a few things, and the end result was so yummy. The original recipe had cinnamon sprinkled on top of the muffins, and although I love cinnamon, I just thought it was weird together with strawberries, so I omitted that, but I thought of something even better. White chocolate! White chocolate and strawberries together? Sounded so delicious!

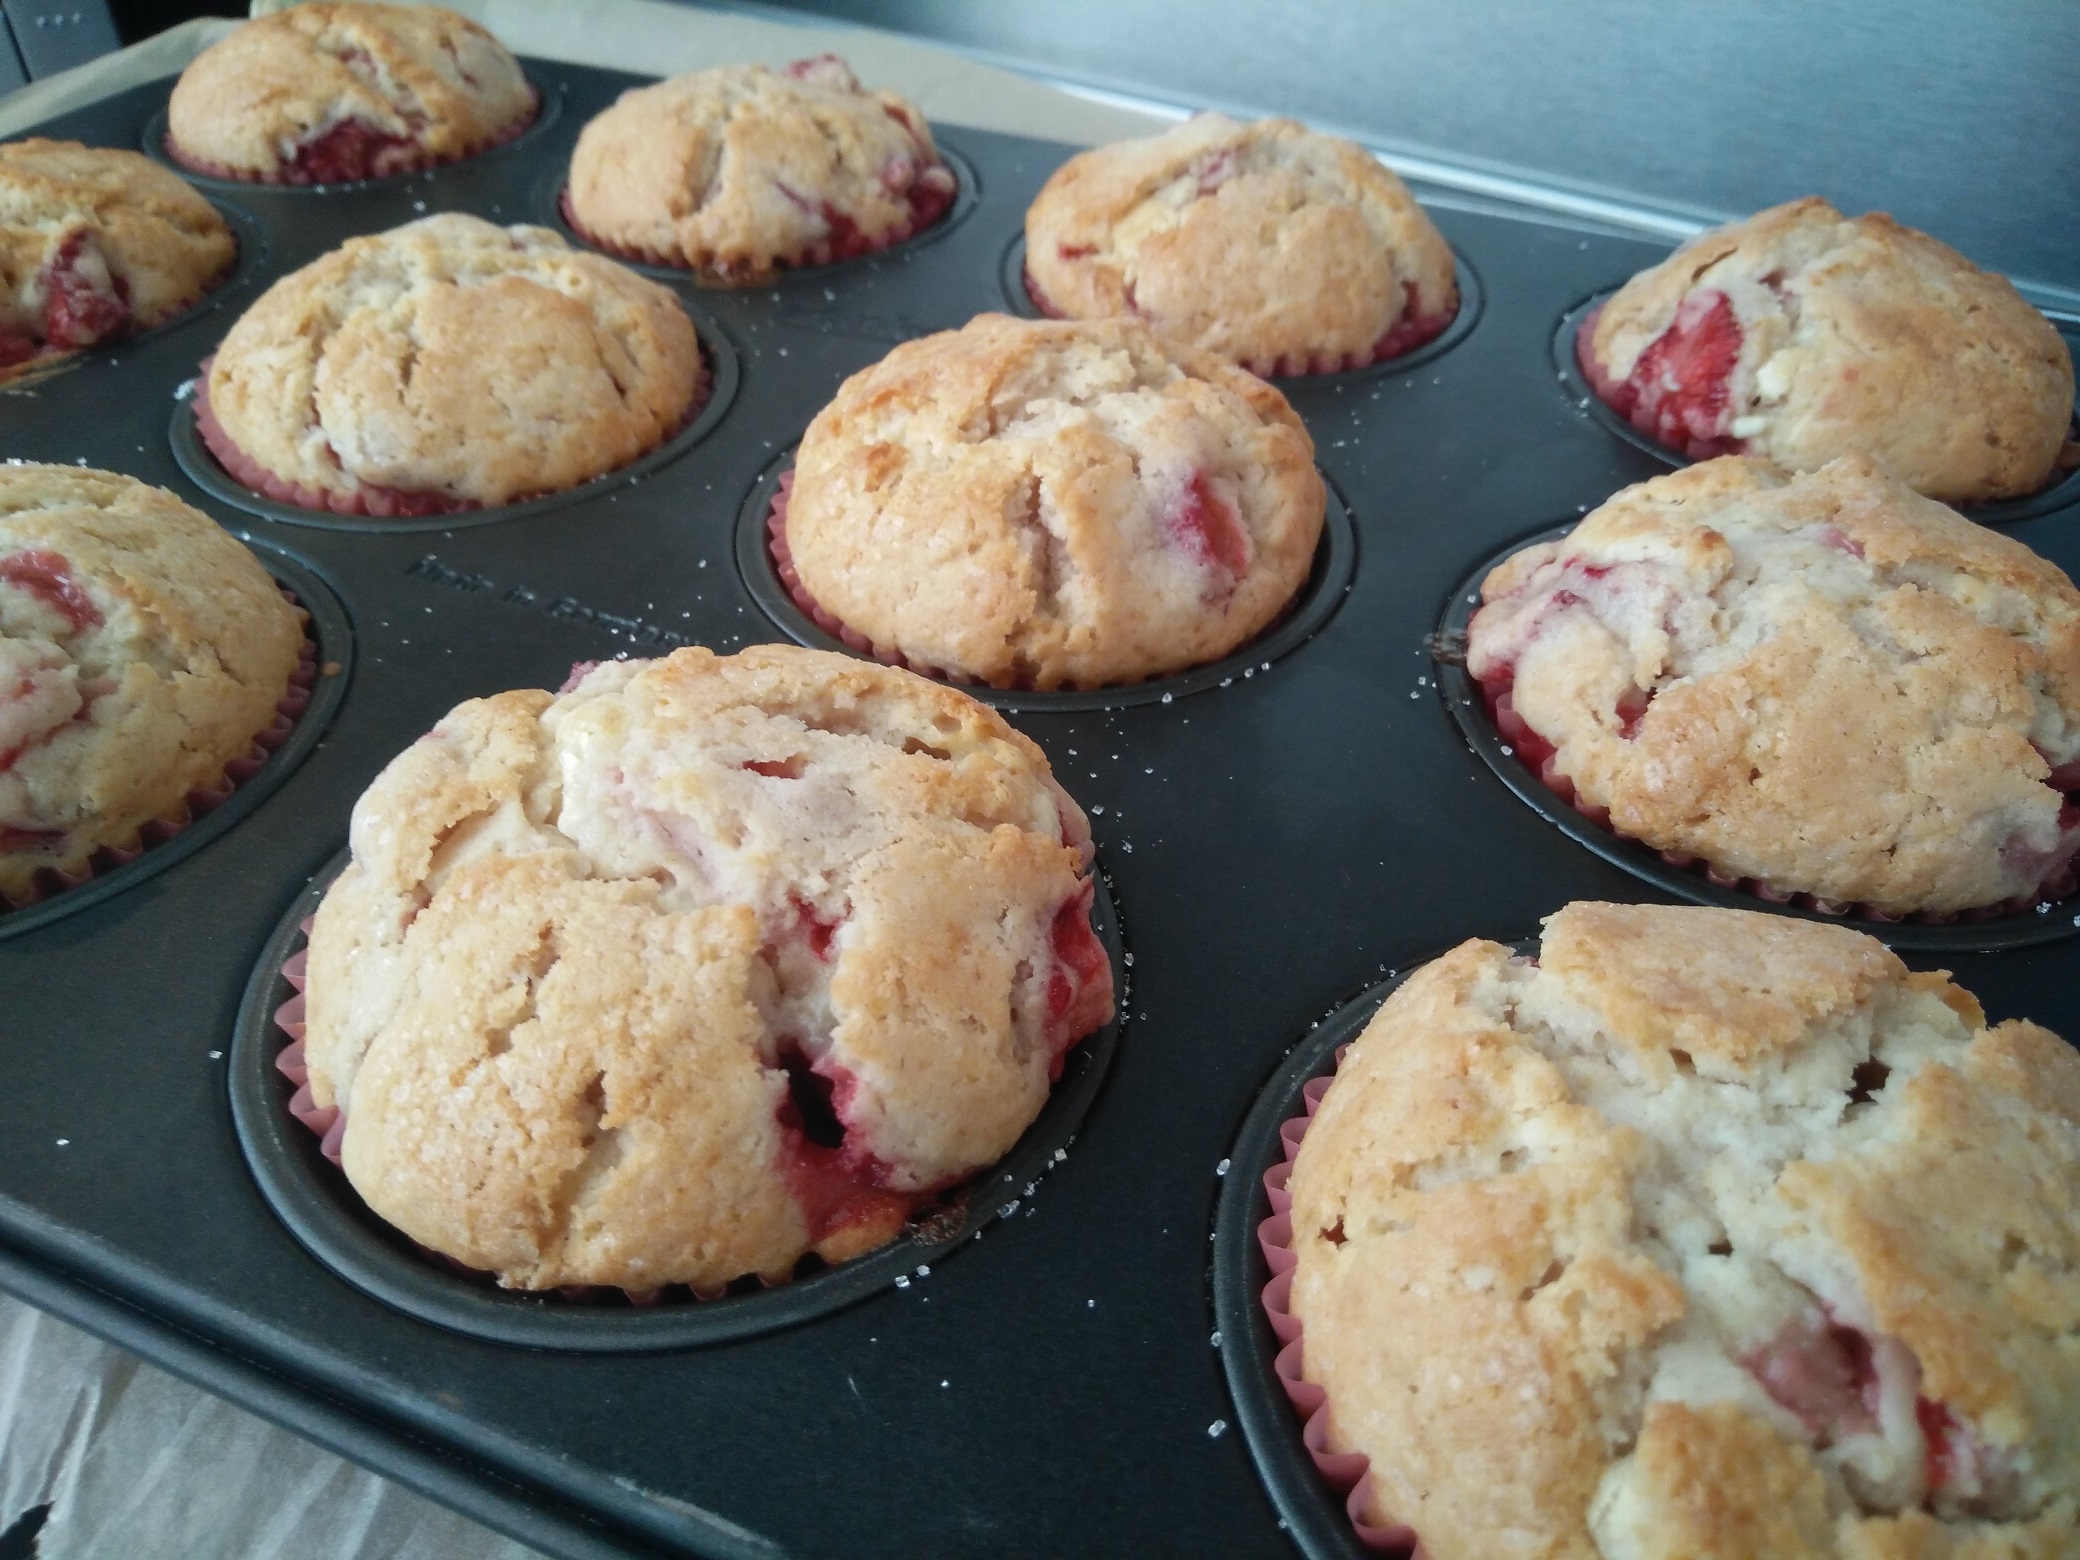
The muffins came out really moist and light, and the white chocolate adds this extra gooey vanilla goodness. Together with the fresh fruit, it’s really tasty.


IMG_20160923_133316_new


So here is the recipe for strawberry white chocolate muffins! I hope you like it! :o)

Strawberry White Chocolate Muffins

Yield: 12

Strawberry White Chocolate Muffins

Ingredients

  • 1/2 cup butter, softened (113 g)
  • 3/4 cups sugar
  • 1 egg
  • 2 cups flour
  • 2 tsp. baking powder
  • 1/2 tsp. salt
  • 1/2 cup milk
  • 1/2 tsp. vanilla
  • 1 1/2 cups chopped strawberries
  • 1/2 cup chopped white chocolate (90 g)
  • Topping
  • 3 tsp granulated sugar

Instructions

  1. Cream butter and sugar. Add egg and mix well.
  2. Sift flour, baking powder, and salt in a small bowl. Add flour mixture and milk, alternating between the two, starting and ending with the flour, to the butter/sugar/egg mixture.
  3. Mix in vanilla.
  4. Then, gently stir in strawberries and white chocolate.
  5. Spoon batter into muffin pan.
  6. Sprinkle the top with sugar.
  7. Bake at 400F/200C for 20 - 25 minutes, or until a toothpick inserted in the center of one of the muffins comes out clean.
Schema/Recipe SEO Data Markup by Yummly Rich Recipes
http://www.dreamingoffood.dk/index.php/2016/10/26/strawberry-white-chocolate-muffins/

You can also make this recipe with blackberries or raspberries or any other kind of berries.

Brazilian Cheese Bread (Pão de Queijo)

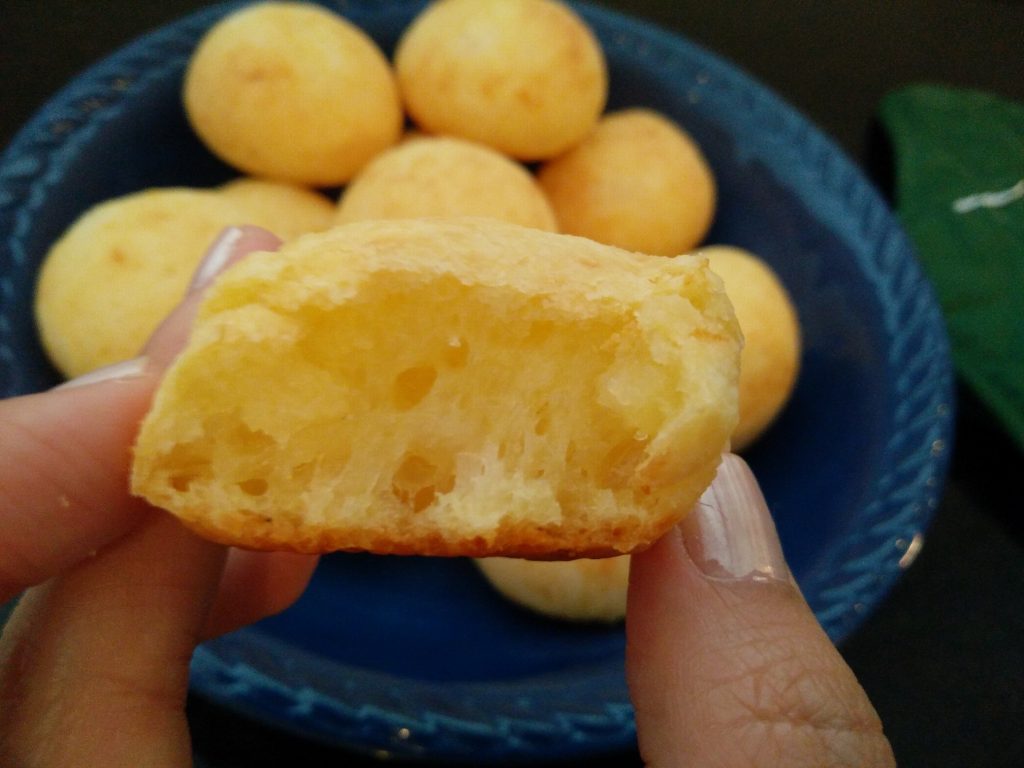
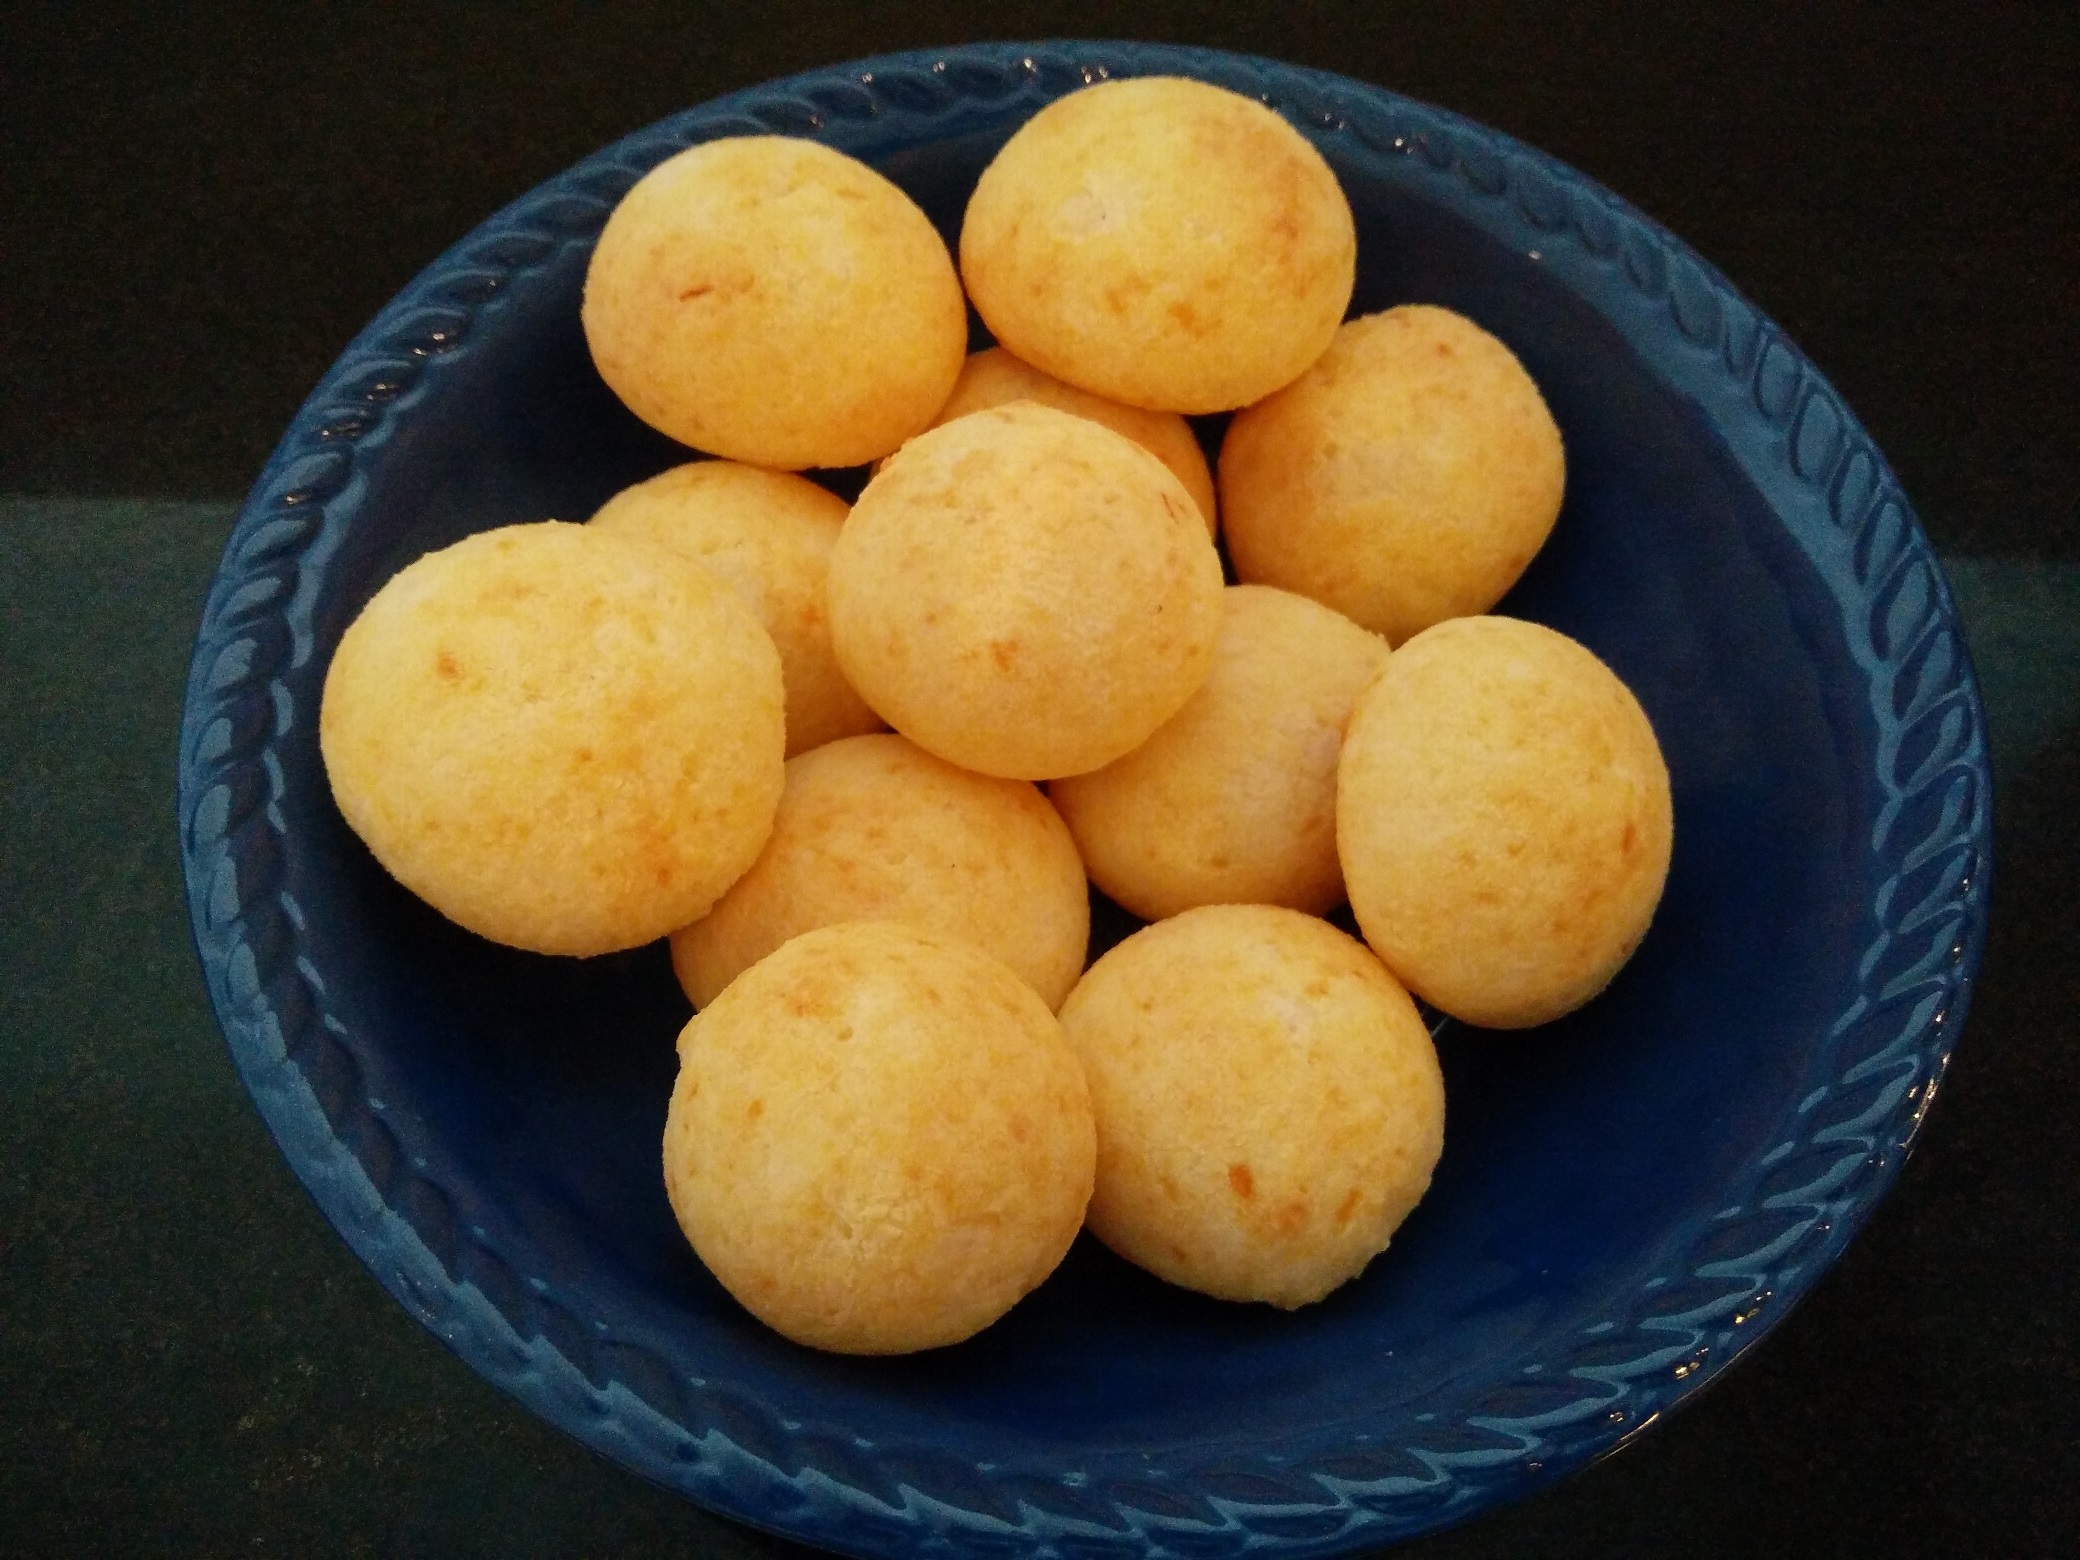
One of the best things about living abroad as a foreigner is that you get to meet people from all over the world. You learn about different cultures, languages, and food through these new people you meet that you might not otherwise know. One of my friends in Denmark is from Brazil, and one day she made Pão de Queijo for me. It is a Brazilian cheese bread that is typically made with cheese, tapioca flour, egg, milk, and some kind of oil. It is a really popular snack in Brazil and can even be found at supermarkets, and bakeries. It can be eaten for breakfast as well as just as a snack. It has a very unusual texture. The outside is crunchy, but the inside is soft, and has this cheesey firm gooeyness to it that is hard to describe, but really tasty. They are like these little light puffs of cheese. 🙂

IMG_20160930_174254_1

There are several different methods and variations of ingredients to making Pão de Queijo, as I found out by searching for a recipe online. Some people blended all of the ingredients together in a blender, poured the very liquidy batter into mini muffin tins, and baked them. Some people used mozzarella cheese or cheddar, some cooked the ingredients before baking and some didn’t, but I wanted to make them like my friend did. She used parmesan cheese, and formed the dough into balls before baking them. Rather than ask her for the recipe (since I think she just googled it) I just searched for one online as well. I found a recipe similar to hers here

I decided to make half of the recipe, and I substituted salted butter for oil. I also reduced the salt. So this is the recipe I came up with in the end and the Pão de Queijo came out perfectly. Try it out if you want, and remember that they are best eaten warm. :o)

Brazilian Cheese Bread (Pão de Queijo)

Yield: 12

Brazilian Cheese Bread (Pão de Queijo)

Ingredients

  • 1/2 cup whole milk
  • 57 grams butter
  • 1/4 tsp salt
  • 1 - 1 1/4 cups tapioca flour/starch
  • 1 egg
  • 3/4 cups parmesan cheese

Instructions

  1. In a small pot, combine milk, salt, and butter. Then, bring it to a gentle boil.
  2. Remove pot from heat.
  3. Stir in the tapioca flour, and mix until combined.
  4. Cool for about 15 minutes.
  5. Then, add the egg to the flour mixture, and mix until combined. You might have to use your hands
  6. Next, stir in the cheese, and add more flour, if needed. Again, you might have to use your hands to make sure it is well mixed.
  7. Then shape the dough into balls, and place on a baking sheet lined with baking paper.
  8. Bake for 25 - 30 minutes at 350F/176C.
  9. Serve warm.

Notes

When shaping the dough into balls, you might want to lightly oil your hands to prevent sticking.

Also, I thought the dough was too wet so I added more tapioca flour so it was easier to handle bringing the total amount of flour used to around 1 1/4 cups. I think if you add too much flour (so the dough is very dry) then the dough will be over worked and end up too hard once baked. So the extra amount of flour I added made the dough still wet but easier to handle and shape into balls.

Schema/Recipe SEO Data Markup by Yummly Rich Recipes
http://www.dreamingoffood.dk/index.php/2016/10/01/brazilian-cheese-bread-pao-de-queijo/

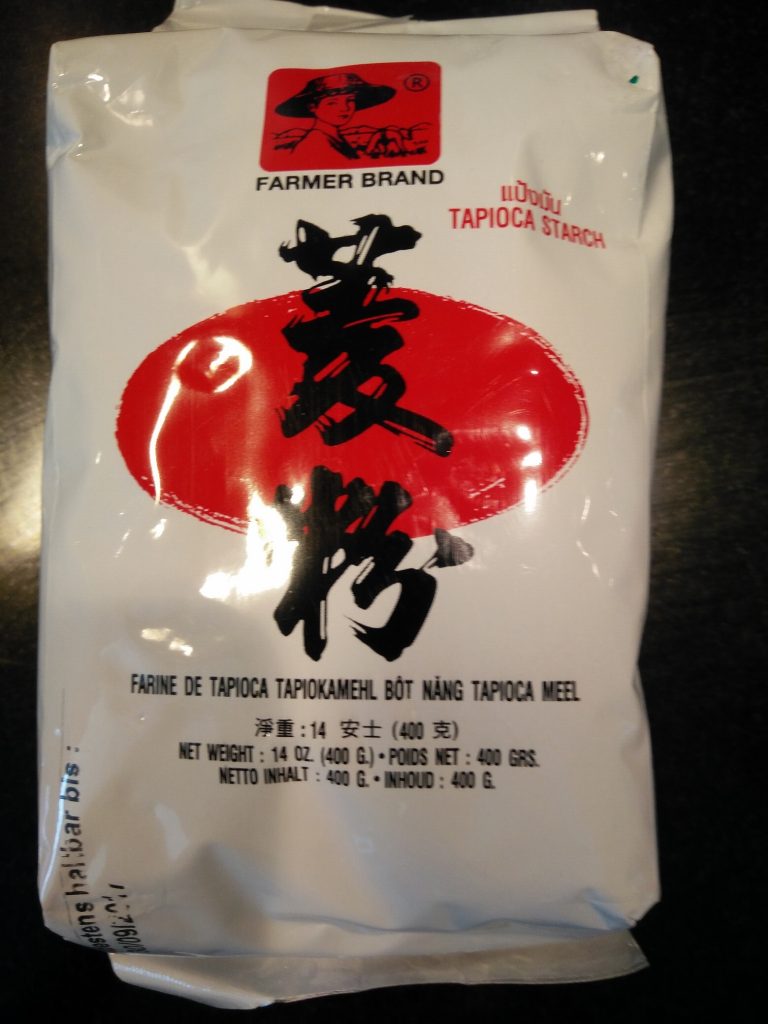
If you live in Copenhagen, Denmark you can find tapioca starch/flour at Kabul Market outside Central Station. I could not find it when I was there so I had to ask and it’s no wonder I couldn’t since it’s mostly written in Thai? 🙂 I don’t know. It looks like this:


IMG_20160930_160531_1

Hope you like them. Pretty easy to make. This was my first time making them and I imagine the next time will be easier. 🙂 I also made a video which I will upload soonish.

Swedish Cinnamon Bread (Klippt Kanellängd)

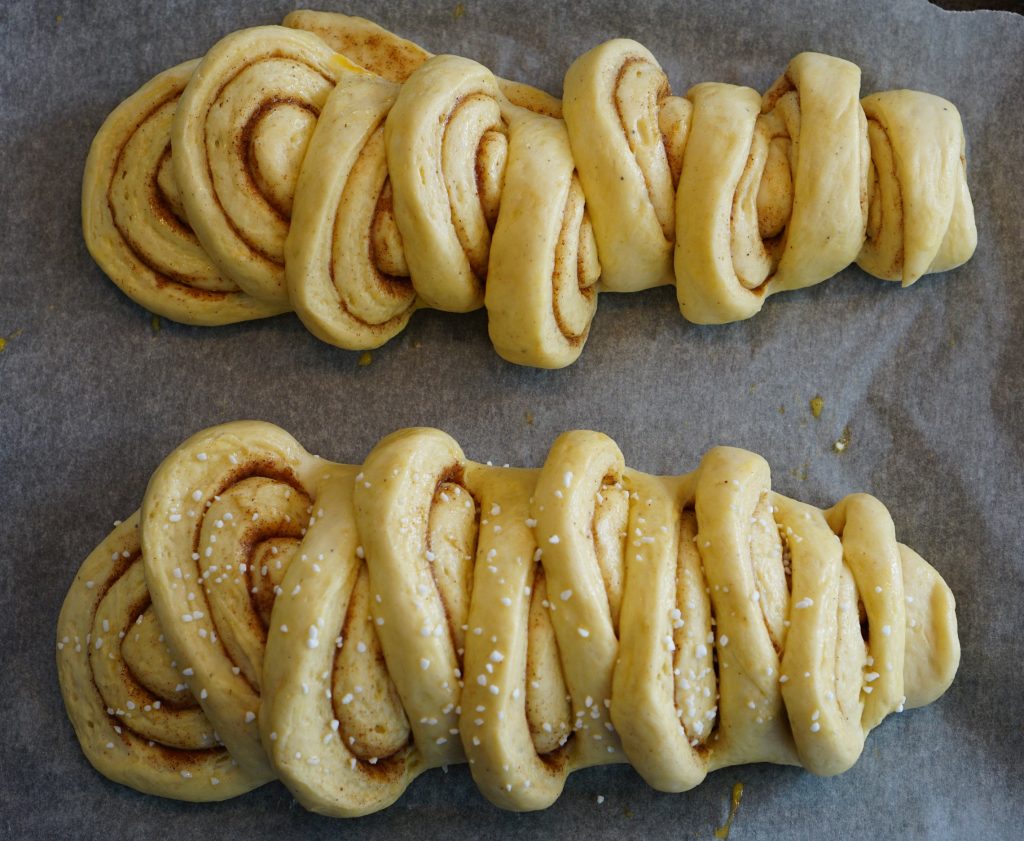
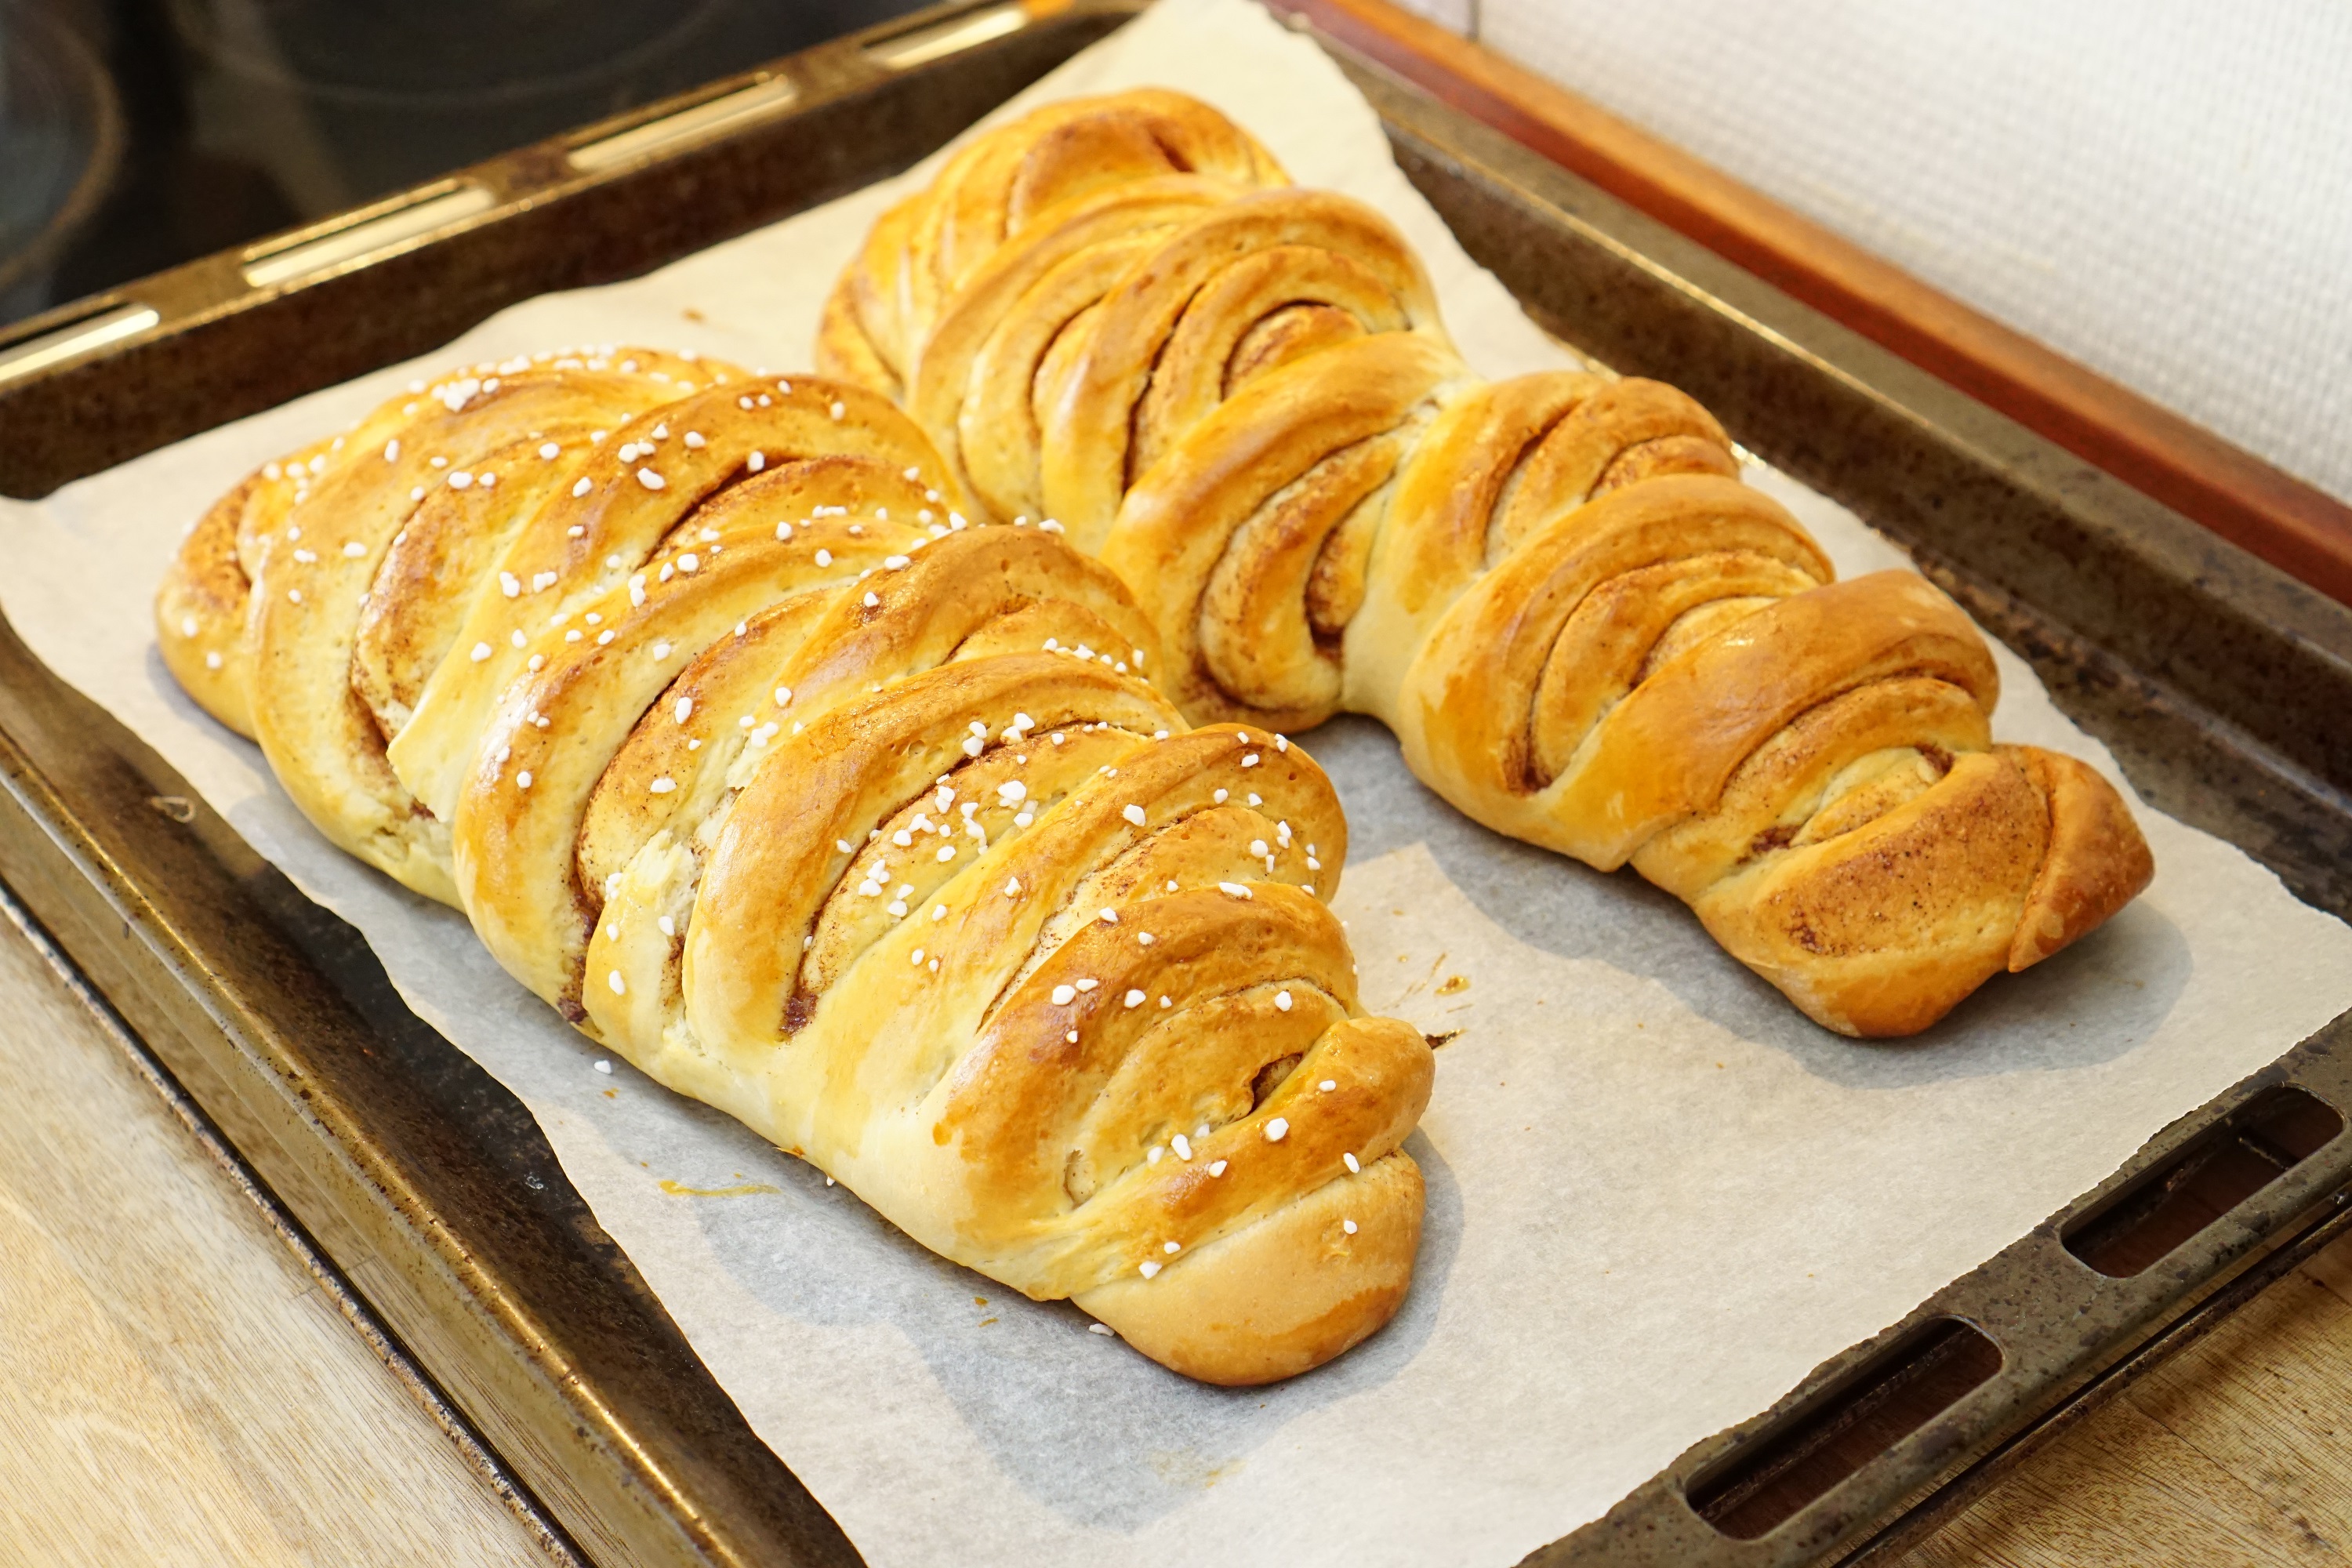
This morning I made Klippt kanellängd for breakfast. It is a Swedish pastry made with cinnamon, butter, milk, egg, sugar, salt, and cardamom. You roll it out, add a cinnamon filling, and roll it back up like you are making cinnamon rolls, except, you then take a pair of scissors, and cut the dough to make it’s signature design. It’s a really pretty bread. The name translates literally as long cut cinnamon….so I just renamed it to Swedish Cinnamon Bread hehe.

There is a similar pastry in Denmark called Kanelstang (Cinnamon Stick) but the ingredients are a bit different, and there’s a sweet icing on top. I don’t mind sweet things, but I am just not a fan of this sweet icing found on top of several Danish pastries. It is way too sweet, it hurts hehe.

Anyways I found this recipe on a Swedish website, and translated it below. I changed some of the steps, and doubled the filling recipe. So my version of this recipe is what is listed below. This was the first time I made this bread, and it turned out really pretty, and so good, but needed more filling, as the cinnamon sugar flavor was a bit too mild for me.

For the topping I just sprinkled the top of one with a coarse sugar found in Sweden called pearl sugar, but you could put chopped almonds on top, or powdered sugar (after it’s baked) like the recipe suggests. I also made the dough the night before, and let it rise at room temperature, then put it in the fridge to rise over night. That way I could make this bread for breakfast the next morning. So when I woke up I took the dough out of the fridge to let it come to room temperature, then continued the recipe after a couple of hours.

I hope you like this recipe. :o)


DSC03072

Swedish Cinnamon Pastry (Klippt Kanellangd)

Swedish Cinnamon Pastry (Klippt Kanellangd)

Ingredients

    Dough
  • 25 g fresh yeast or 2.5 tsp dry yeast
  • 3 ½ dl milk, lukewarm
  • ¾ dl granulated sugar
  • 1 pinch of salt
  • ¾ tsp ground cardamom
  • 1 egg
  • 75 g butter, unsalted
  • 9 - 11 dl flour
  • Filling
  • 80 g butter
  • 1/2 dl granulated sugar
  • 4 tsp ground cinnamon
  • Glaze
  • 1 egg, beaten
  • powdered sugar (optional)
  • pearl sugar (optional)
  • 3/4 dl chopped almonds (optional)

Instructions

  1. Dissolve yeast in a cup with lukewarm milk.
  2. In a separate large bowl, whisk the dry ingredients together - salt, cardamom, sugar, and flour.
  3. Then, add the butter, and mix with your hands until it resembles bread crumbs.
  4. Then, pour the milk/yeast mixture, and egg into the bowl with the dry ingredients, and mix together until a dough starts to form.
  5. Knead the dough on a clean surface dusted with flour until it is smooth, about 5 minutes.
  6. Cover the dough, and let it rise for 45 minutes.
  7. Roll out the dough in a rectangle shape, about ½ cm thick. Spread the butter, for the filling, on the dough with a knife, and sprinkle cinnamon and sugar on top.
  8. Cut the rectangle in half.
  9. Roll each rectangle (like you are making cinnamon rolls) and place each rolled dough (with space between them) on a baking sheet lined with baking paper.
  10. Take a pair of kitchen scissors and cut the rolls (about 13 snips or centimeter-thick slices) along the middle of each roll, but not too deep. You want each piece to still be attached to the bottom, about 1 cm thick.
  11. Then, drag each piece you cut to the side - left side, then right side, and continue alternating, pulling them a bit apart so each piece is bent backwards.
  12. Brush each cinnamon pastry with beaten egg, and sprinkle with almonds (optional) or coarse sugar (optional).
  13. Cover it and let it rise for 30 minutes.
  14. Pre-heat the oven to 200 degrees C or 400 F.
  15. Bake the pastries at the bottom of the oven for 25 - 30 minutes.
  16. Let them cool, and dust with powdered sugar before serving, if you like.
Schema/Recipe SEO Data Markup by Yummly Rich Recipes
http://www.dreamingoffood.dk/index.php/2016/08/27/swedish-cinnamon-pastry-klippt-kanellangd/

Homemade Pasta

Homemade Pasta

Ingredients

  • 150 grams Pasta flour (plus more for dusting)
  • 2 eggs
  • 1/2 tsp. salt

Instructions

  1. First, pour pasta flour in a bowl mixed with salt.
  2. Then, make a well in the center of the flour, and crack the eggs into the well. Next, gently scoop some of the flour into the egg (repeatedly) until a dough starts to form.
  3. Then, place the dough onto a clean surface dusted with pasta flour, and knead it just until it comes together.
  4. Cover dough with plastic wrap, and place in the fridge for at least 1 hour before using.
  5. When ready, divide the dough in half, and dust it lightly with pasta flour.
  6. Take half of the dough and run it through the pasta maker starting at 0 until desired thickness. I stop at setting 5. You can always just hand roll out the dough if you don't have a pasta maker.
  7. Repeat this process with the other half of the dough.
  8. Next, either take a dull knife and hand cut strips or switch to the fettuccine setting on your pasta maker to make the pasta into fettuccine. I split each layer of dough into two so the fettuccine wasn't too long.
  9. Then, lightly dust the fettuccine in pasta flour so that it doesn't stick together.
  10. Boil pasta in salted water for 2-3 minutes.
  11. Drain pasta before serving. :o)

Notes

Don't cook pasta until dinner is almost ready.

Schema/Recipe SEO Data Markup by Yummly Rich Recipes
http://www.dreamingoffood.dk/index.php/2016/08/24/homemade-pasta/