Caesar Salad

Caesar salad is one of my favorite salads, but it can be difficult to find a good dressing. It turns out that it’s pretty easy to make homemade. The tricky part is pouring the oil into the egg yolks, and slowly whisking everything, but once you get the hang of it, you’re set. 🙂 Just remember to pour in a thin stream of oil while whisking everything together, if you pour too much oil at once, then it will separate.

If you want to try my recipe it is below, as well as a step by step video. Hope you enjoy it. 🙂

Note: If it’s your first time making such a dressing you could also whisk the oil into the egg yolks first until the “mayo” is the right consistency, and then stir in the additional ingredients after.

Caesar Dressing

Ingredients

  • 2 pasteurized egg yolks
  • 1/2 cup finely grated parmesan cheese
  • 1 - 1½ inches anchovie paste
  • 1/2 tbsp lemon juice
  • 1 clove minced garlic
  • pepper
  • salt
  • rapeseed or sunflower oil

Instructions

  1. Whisk all the ingredients together (except oil)

  2. While whisking (use an electric whisk or mixer), add in a very very thin stream of oil until it's the right consistency.

Recipe Notes

The more oil you put the thicker the dressing will be. If in the end it is too thick you can add a little cold water to the dressing.

To make homemade croutons just cut some slices of french bread into cubes, add olive oil and salt and pepper, and place on a baking pan. Broil the bread in the oven until toasted. Watch it carefully so it doesn't burn.

To assemble the salad cut up romaine lettuce, grate fresh parmesan cheese on top, then mix in the croutons, and caesar dressing.
 

Brazilian Cheese Bread (Pão de Queijo)

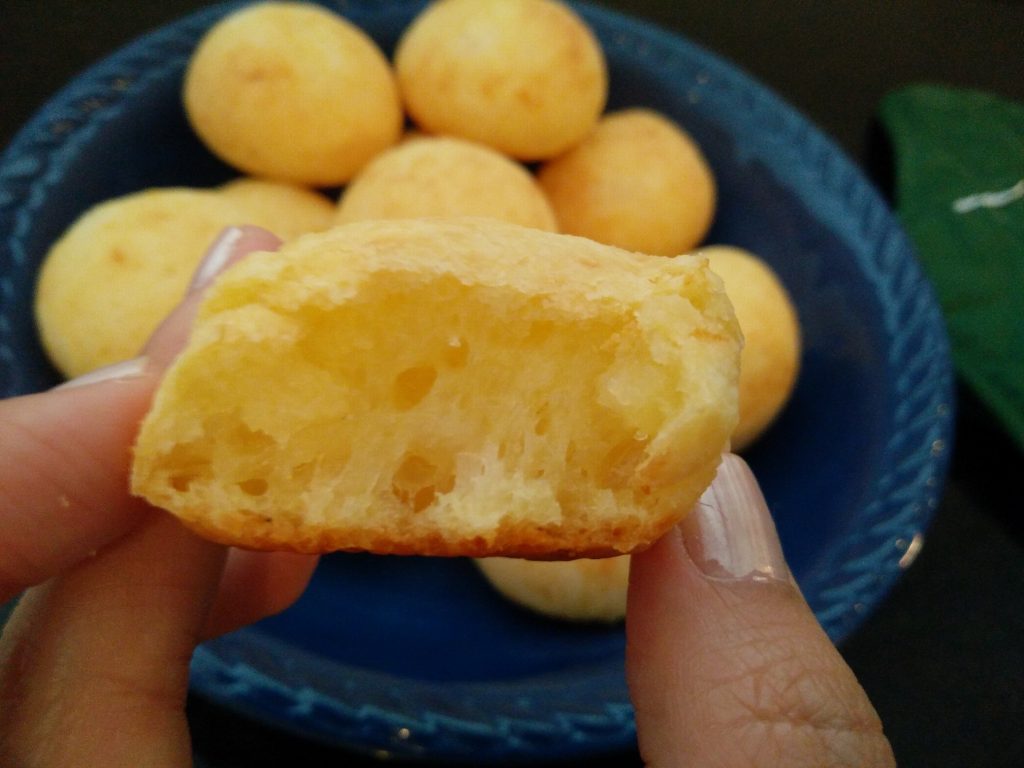
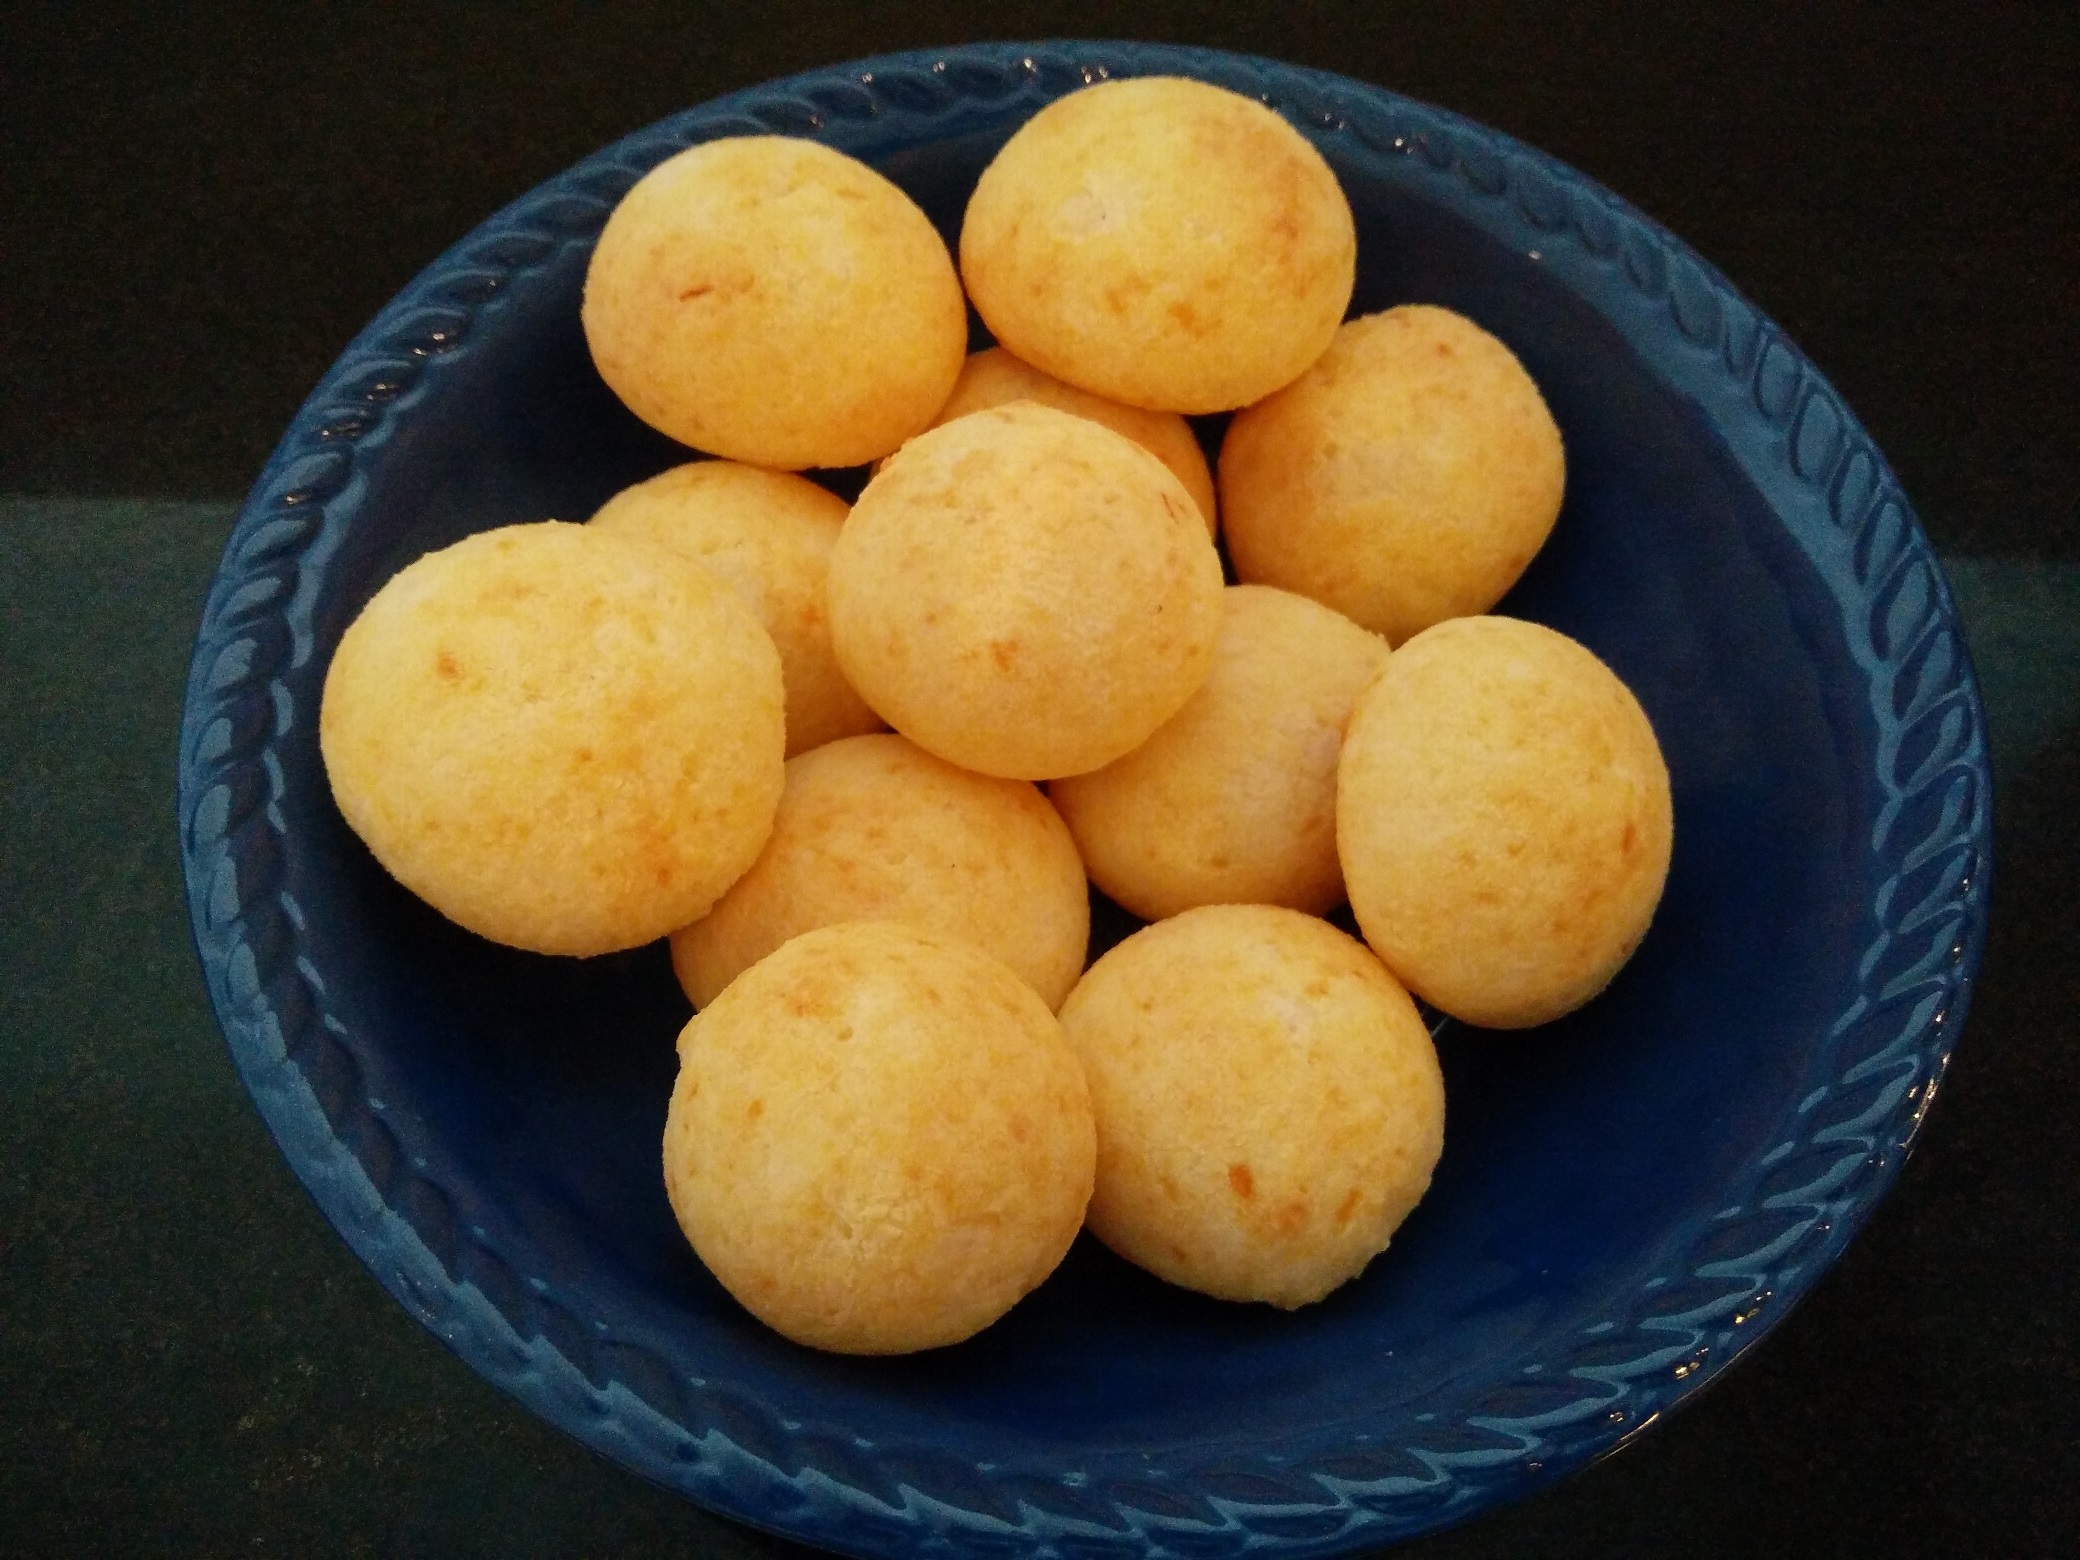
One of the best things about living abroad as a foreigner is that you get to meet people from all over the world. You learn about different cultures, languages, and food through these new people you meet that you might not otherwise know. One of my friends in Denmark is from Brazil, and one day she made Pão de Queijo for me. It is a Brazilian cheese bread that is typically made with cheese, tapioca flour, egg, milk, and some kind of oil. It is a really popular snack in Brazil and can even be found at supermarkets, and bakeries. It can be eaten for breakfast as well as just as a snack. It has a very unusual texture. The outside is crunchy, but the inside is soft, and has this cheesey firm gooeyness to it that is hard to describe, but really tasty. They are like these little light puffs of cheese. 🙂

IMG_20160930_174254_1

There are several different methods and variations of ingredients to making Pão de Queijo, as I found out by searching for a recipe online. Some people blended all of the ingredients together in a blender, poured the very liquidy batter into mini muffin tins, and baked them. Some people used mozzarella cheese or cheddar, some cooked the ingredients before baking and some didn’t, but I wanted to make them like my friend did. She used parmesan cheese, and formed the dough into balls before baking them. Rather than ask her for the recipe (since I think she just googled it) I just searched for one online as well. I found a recipe similar to hers here

I decided to make half of the recipe, and I substituted salted butter for oil. I also reduced the salt. So this is the recipe I came up with in the end and the Pão de Queijo came out perfectly. Try it out if you want, and remember that they are best eaten warm. :o)

Brazilian Cheese Bread (Pão de Queijo)

Yield: 12

Brazilian Cheese Bread (Pão de Queijo)

Ingredients

  • 1/2 cup whole milk
  • 57 grams butter
  • 1/4 tsp salt
  • 1 - 1 1/4 cups tapioca flour/starch
  • 1 egg
  • 3/4 cups parmesan cheese

Instructions

  1. In a small pot, combine milk, salt, and butter. Then, bring it to a gentle boil.
  2. Remove pot from heat.
  3. Stir in the tapioca flour, and mix until combined.
  4. Cool for about 15 minutes.
  5. Then, add the egg to the flour mixture, and mix until combined. You might have to use your hands
  6. Next, stir in the cheese, and add more flour, if needed. Again, you might have to use your hands to make sure it is well mixed.
  7. Then shape the dough into balls, and place on a baking sheet lined with baking paper.
  8. Bake for 25 - 30 minutes at 350F/176C.
  9. Serve warm.

Notes

When shaping the dough into balls, you might want to lightly oil your hands to prevent sticking.

Also, I thought the dough was too wet so I added more tapioca flour so it was easier to handle bringing the total amount of flour used to around 1 1/4 cups. I think if you add too much flour (so the dough is very dry) then the dough will be over worked and end up too hard once baked. So the extra amount of flour I added made the dough still wet but easier to handle and shape into balls.

Schema/Recipe SEO Data Markup by Yummly Rich Recipes
http://www.dreamingoffood.dk/index.php/2016/10/01/brazilian-cheese-bread-pao-de-queijo/

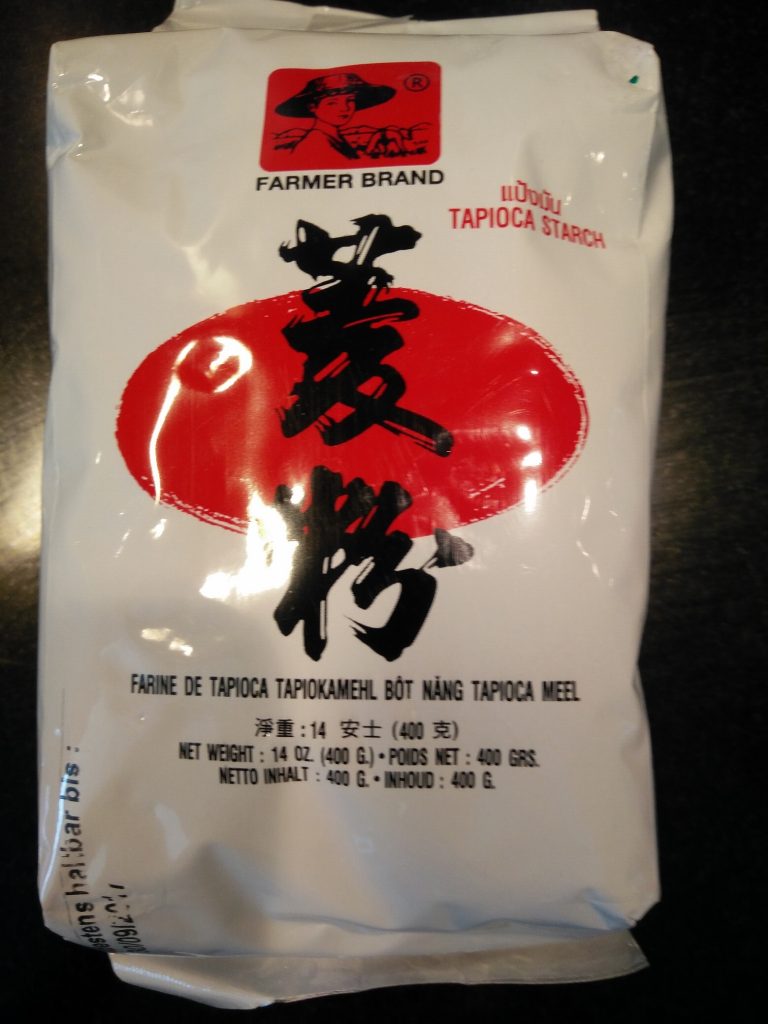
If you live in Copenhagen, Denmark you can find tapioca starch/flour at Kabul Market outside Central Station. I could not find it when I was there so I had to ask and it’s no wonder I couldn’t since it’s mostly written in Thai? 🙂 I don’t know. It looks like this:


IMG_20160930_160531_1

Hope you like them. Pretty easy to make. This was my first time making them and I imagine the next time will be easier. 🙂 I also made a video which I will upload soonish.

Queso Dip (without velveeta)

One of the snacks I miss most while living abroad is Queso (cheese dip). Anytime we had a party back home there was a guarantee that cheese dip was made. We usually made it with onions sauted in butter, then added in a can of rotel tomatoes, and velveeta cheese. It was also something I loved to order from restaurants, but a restaurant never uses velveeta cheese.

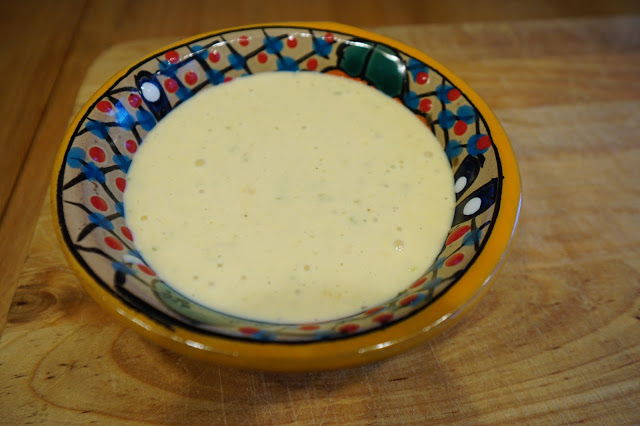
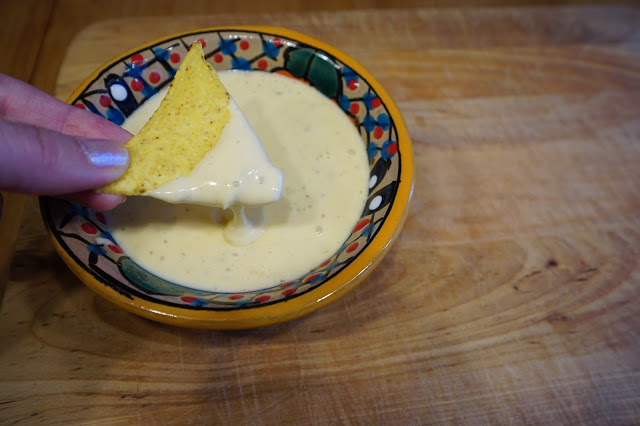
In the last month Danish grocery stores finally started to carry monterey jack cheese at the stores. This cheese was unavailable here before, and guess what? It is great for making cheese dip. So I developed my own recipe with the ingredients I have access to here, and it turned out to be pretty delicious. I made a video on how I make queso dip without velveeta which you can see below.


Queso Dip (without velveeta)

Prep Time: 5 minutes

Cook Time: 20 minutes

Total Time: 25 minutes

Serving Size: 1 small/medium bowl

Queso Dip (without velveeta)

Ingredients

  • 4 slices American Cheese
  • 1/2 cup Monterey jack cheese (grated)
  • 1/2 cup whipping cream
  • 1 - 2 tbsp milk (to thin out the cheese dip)
  • 1 jalapeno (remove seeds and stem)
  • 1 chili pepper (remove seeds and stem) - optional: for a spicy cheese dip
  • 1/4 small onion
  • 15 - 20 grams butter

Instructions

  1. Melt butter in a pan, and saute chopped onions, jalapeno, and chili pepper.
  2. Add whipping cream to the pan, and bring it to a boil.
  3. Lower the heat, and add in the monterey jack cheese. Stir until melted.
  4. Add in the american cheese. Stir until melted.
  5. Add 1-2 tbsp milk to thin out the cheese
  6. Season with salt and pepper.
  7. Serve as is, or for a more creamy queso, add the cheese dip to a food chopper and blend until smooth.

Notes

I am pretty sure you could omit the american cheese, and add an additional 1/2 cup monterey jack cheese instead making a white queso dip, but I haven't tried this. The great thing about monterey jack cheese is that it does not become grainy and stays smooth. If you want to make larger quantities, then double the recipe, but be careful about doubling the peppers. You could always saute the peppers whole, remove them from the pan, and add them in a little at a time, until you think it's spicy enough.

Schema/Recipe SEO Data Markup by Yummly Rich Recipes
http://www.dreamingoffood.dk/index.php/2016/04/29/queso-dip-without-velveeta-2/


Note: this recipe made a little more cheese dip than pictured. Enjoy! 🙂


Roasted Salsa Recipe

One of my favorite things to eat back home in San Antonio is Salsa. If you go to any Mexican restaurant in San Antonio you get a free bowl of salsa and chips to munch on, strangely enough, even at breakfast time. Anyways, It’s always so good, and always homemade. At the grocery store back home, the Salsa aisle is kind of insane. There seem to be 100 different kinds, and every jar claims to be award winning or the best, but actually it’s very very difficult to find one that tastes good. I always try one and end up being disappointed. The best ones are usually the freshly made Salsas in the refrigerated section. H.E.B. makes a really good fresh salsa btw.

Well, the salsa craze hasn’t quite hit Denmark, yet, and I can see why. The salsa I have had here is pretty disgusting. It usually just tastes like a bowl of chopped tomatoes or pizza sauce. That is not Salsa. If I never had Mexican food before, and had to base my opinion on the Mexican food I have tried in Denmark, I would hate it, but that is to say not a lot of places make Mexican food to begin with here, and trust me the Danes have perfected so many other kinds of food. Also Mexico is pretty far from Denmark. :o)

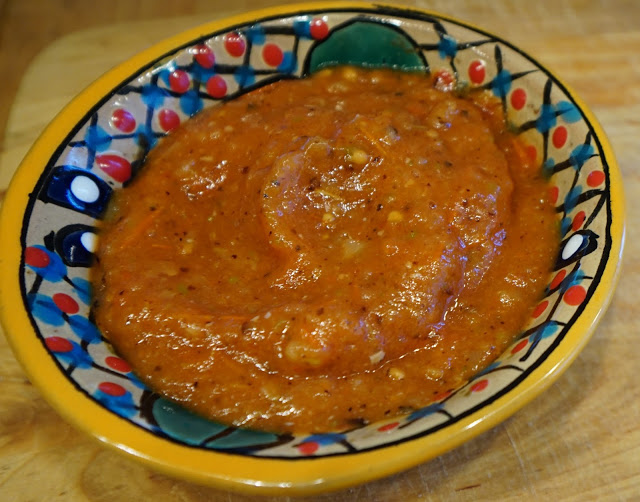
Yesterday I decided to try to make Roasted Salsa. Surprisingly it was so easy to make, and tastes so much like the roasted salsa I love at Salsalitos restaurant in San Antonio. I found the recipe online here and I made a video which you can see below.


Roasted Salsa Recipe

Prep Time: 25 minutes

Cook Time: 20 minutes

Total Time: 45 minutes

Yield: 1 medium/large bowl

Roasted Salsa Recipe

Ingredients

  • 1 lb. Plum Tomatoes (about 453 grams)
  • 1 tsp. sea salt
  • 1 medium jalapeno pepper
  • 2 medium cloves garlic
  • 1/2 medium onion or 3/4 small onion
  • 2 tsp. freshly squeezed lime juice (about 1/2 a lime)
  • sugar (optional)
  • cilantro (optional)

Instructions

  1. Rinse and dry the tomatoes and jalapeno. Then, warm up the oven, and set an oven safe pan/dish inside the oven to warm up. I heat my oven to about 250C/482F
  2. Chop 1/2 a medium onion into four chunks, set aside.
  3. Slice each tomato in half.
  4. Remove the pan/dish from the oven, and place the tomatoes (skin side down), jalapeno, garlic cloves (skin on), and onion on the pan/dish. Sprinkle salt evenly on the tomatoes.
  5. Turn on the broiler in the oven, and place the pan/dish in the oven for about 10 minutes.
  6. Then, turn over all of the ingredients, and broil for another 7 - 10 minutes or until toasted.
  7. Remove pan/dish from the oven and let cool for about 10 minutes.
  8. Then, add the tomatoes and onion to a food chopper.
  9. Next, remove the stem, and seeds from the jalapeno, and roughly chop it into a few chunks, and add it to the food chopper.
  10. Finally, remove the skin from the garlic cloves, and chop off the end piece, and add the garlic to the chopper.
  11. Pulse everything until well mixed, then stir in the lime juice.
  12. Add more salt, if needed.

Notes

I used a grill pan in the oven, but you could use an oven safe frying pan or a baking dish. Alternatively you could try to toast the vegetables on the stove top on a high heat, although I haven't tried that.

The original recipe calls for cilantro and sugar. I did not add this to my recipe, and it tasted great, but you can add that if you wish.

Schema/Recipe SEO Data Markup by Yummly Rich Recipes
http://www.dreamingoffood.dk/index.php/2016/04/27/roasted-salsa-recipe/

Hope you enjoy this recipe! :o)